
Some handy homeowners tackle small patio overlays themselves. But driveways, pool decks, and commercial floors involve bonding and structural considerations that are best left to experienced contractors. Get it wrong and you're looking at delamination, cracking, shadowing, or moisture-related bubbling — plus a voided product warranty.
This guide walks North Texas homeowners and businesses through the full, correct installation process, from prep to sealing.
TL;DR
- Concrete overlays resurface sound, non-moving slabs — they are not a fix for damaged concrete
- Success depends on surface prep, moisture testing, and manufacturer thickness and cure times
- The sequence: clean/repair/etch → prime → apply → stamp/texture (optional) → cure → seal
- Heavily cracked or unstable concrete needs repair or replacement first
- Pilot Painting & Construction handles floor coatings, polished concrete, and concrete repair across Pilot Point and the DFW area
Installation Guide for Concrete Overlays
Concrete overlay installation breaks into six phases:
- Preparation (cleaning, repair, moisture check)
- Priming
- Application
- Texturing or stamping
- Curing
- Sealing
Most overlay projects run 2-5 days including cure time. Weather, product selection, and decorative stamping all affect that window. Stamping demands precise timing with trowels and gauge rakes, and that skill takes real practice to get right.

Prerequisites and Safety Considerations
Before any material goes down, the existing slab needs to pass a few checks.
Structural readiness:
- No active movement or settlement
- Correctly sloped for drainage
- Free of wide or active cracks
Overlays follow the substrate underneath them. Industry guidance from Sika and Butterfield Color is consistent here: overlay systems are designed for structurally sound, non-moving concrete, not as a fix for a slab that's still shifting.
Compatibility and climate checks:
- Match the overlay product to interior vs. exterior use
- Confirm it's rated for driveway/patio traffic loads
- Account for North Texas heat and occasional freeze cycles, which stress overlays differently than milder climates
Moisture testing matters most on interior floors. ASTM F2170 is the standard test method for measuring in-situ relative humidity in concrete slabs using probes placed at the correct depth. Skipping this step is one of the most common causes of delamination and blistering months after installation.
Non-negotiable: don't proceed if you find wide or active cracks, settlement, or high moisture readings. Repair those issues first.
Tools and Materials Required
Core essentials:
- Pressure washer or mechanical grinder
- Bonding/acrylic primer
- Gauge rake or trowel
- Curing compound
- Sealer
Situational additions:
- Stamping mats and release agent — only for decorative, stamped finishes
- Self-leveling tools — only needed on uneven floors
Substitutions are fine depending on the finish you want. A squeegee can replace a trowel for some spreading tasks. What matters more than the exact tool is matching your process to the manufacturer's data sheet for that specific product.

How to Install a Concrete Overlay (Step-by-Step)
Rushing timing, especially during stamping, is the leading cause of long-term overlay failure. Work each step in order.
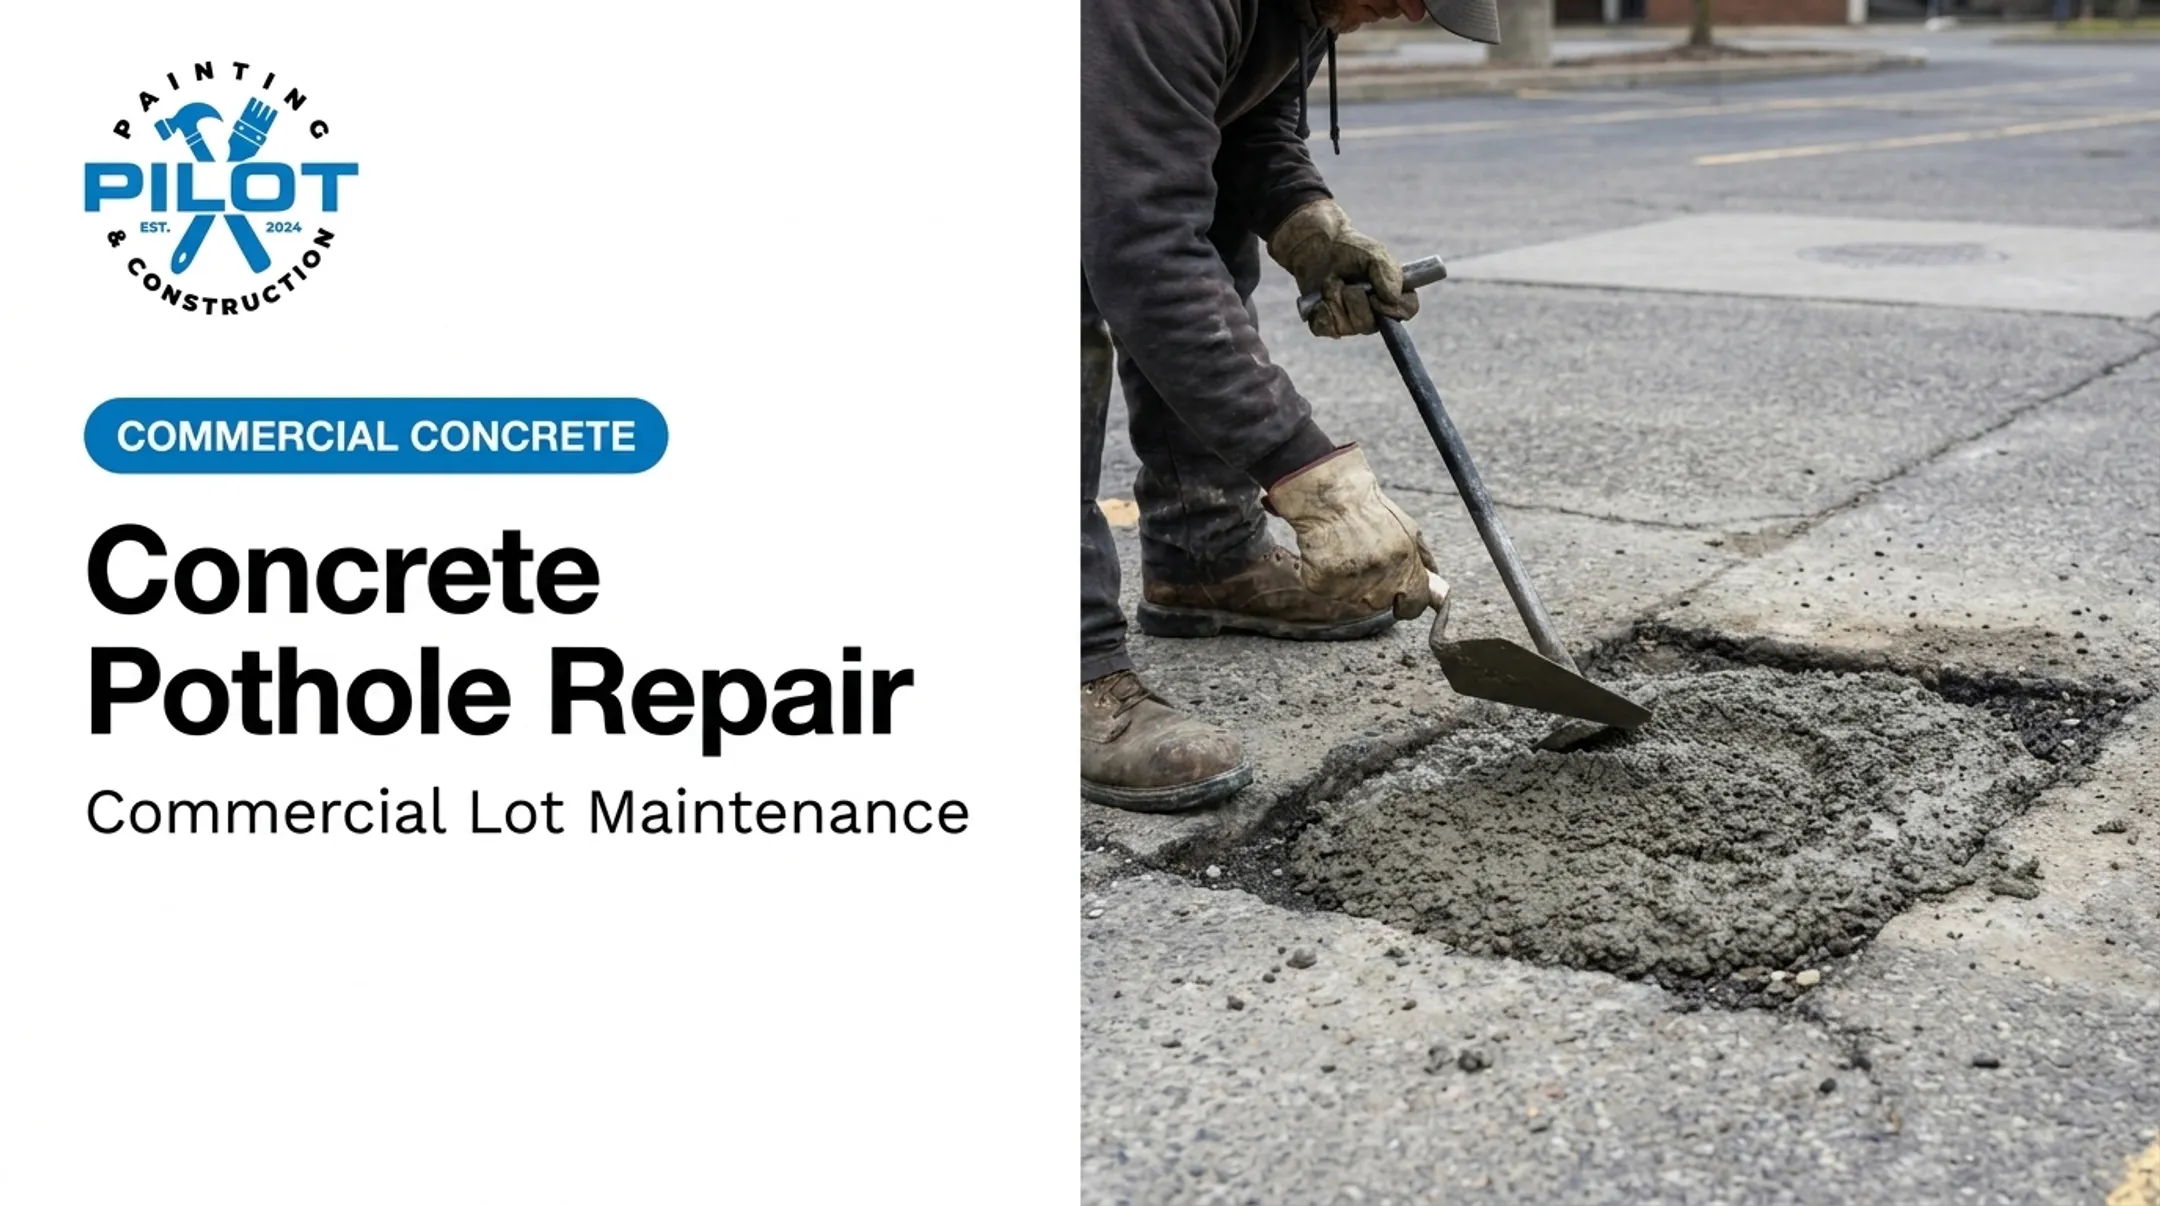
Prepare the surface. Pressure wash or mechanically grind/shot-blast to remove contaminants. Patch cracks and holes. Protect adjacent surfaces like landscaping or walls from overspray and debris.
Prime and bond. Apply an acrylic or cement-based primer. This promotes adhesion and prevents the overlay from flash-setting too quickly against a dry, porous substrate.
Mix and apply. Follow the manufacturer's exact water ratio. Batches mixed too large or too wet lose workability fast. Spread with a gauge rake or trowel at the specified thickness, typically 1/8" to 3/4"—microtoppings at the thin end, heavy-traffic stamp-grade systems toward 3/4".
Stamp or texture (if decorative). Apply a release agent, then stamp while the material is still plastic but no longer sticks to a finger. Too early and the pattern shifts or shrinks; too late and impressions won't form at all.
Cure and seal. Allow the manufacturer's minimum cure window — often 24-48 hours before light traffic, with full strength taking up to 7 days. Only then apply a protective sealer.

Post-Installation Checks and Validation
Don't assume success just because the surface looks finished. Confirm it.
Visual and physical checks:
- Uniform color and texture across the entire surface
- No hollow spots (a dull sound on a chain drag signals delamination; a clear ring means sound bonding)
- Even thickness with no thin or ponding areas
- No tackiness, softness, or uneven wear when you walk the cured surface
Watch for early trouble signs:
- Bubbling or blistering
- White haze
- Hairline cracking
- Shadowing from old joints or patterns underneath
Skipping this step is risky. Moisture or bonding failures missed at install often show up weeks or months later. By then, the fix usually means grinding out and starting over.

Common Installation Problems and Fixes
Even solid overlay work can develop issues after placement. These are the failures that show up most often, and the fixes that resolve them.
Shrinkage Cracking from Hot Weather Application
Problem: The overlay cracks within days of installation.
Cause: Application in direct sun or on hot surfaces causes rapid moisture loss before the material cures properly.
Fix: Apply only within the manufacturer's temperature range. Most products call for 50-90°F with no rain expected for 48 hours after placement. In North Texas summers, use evaporation retarders to slow moisture loss during hot, windy conditions.
Delamination or Bubbling
Problem: The overlay lifts, bubbles, or peels away from the substrate.
Cause: Trapped moisture vapor or leftover contaminants (oil, sealers, dust) on the original surface before application.
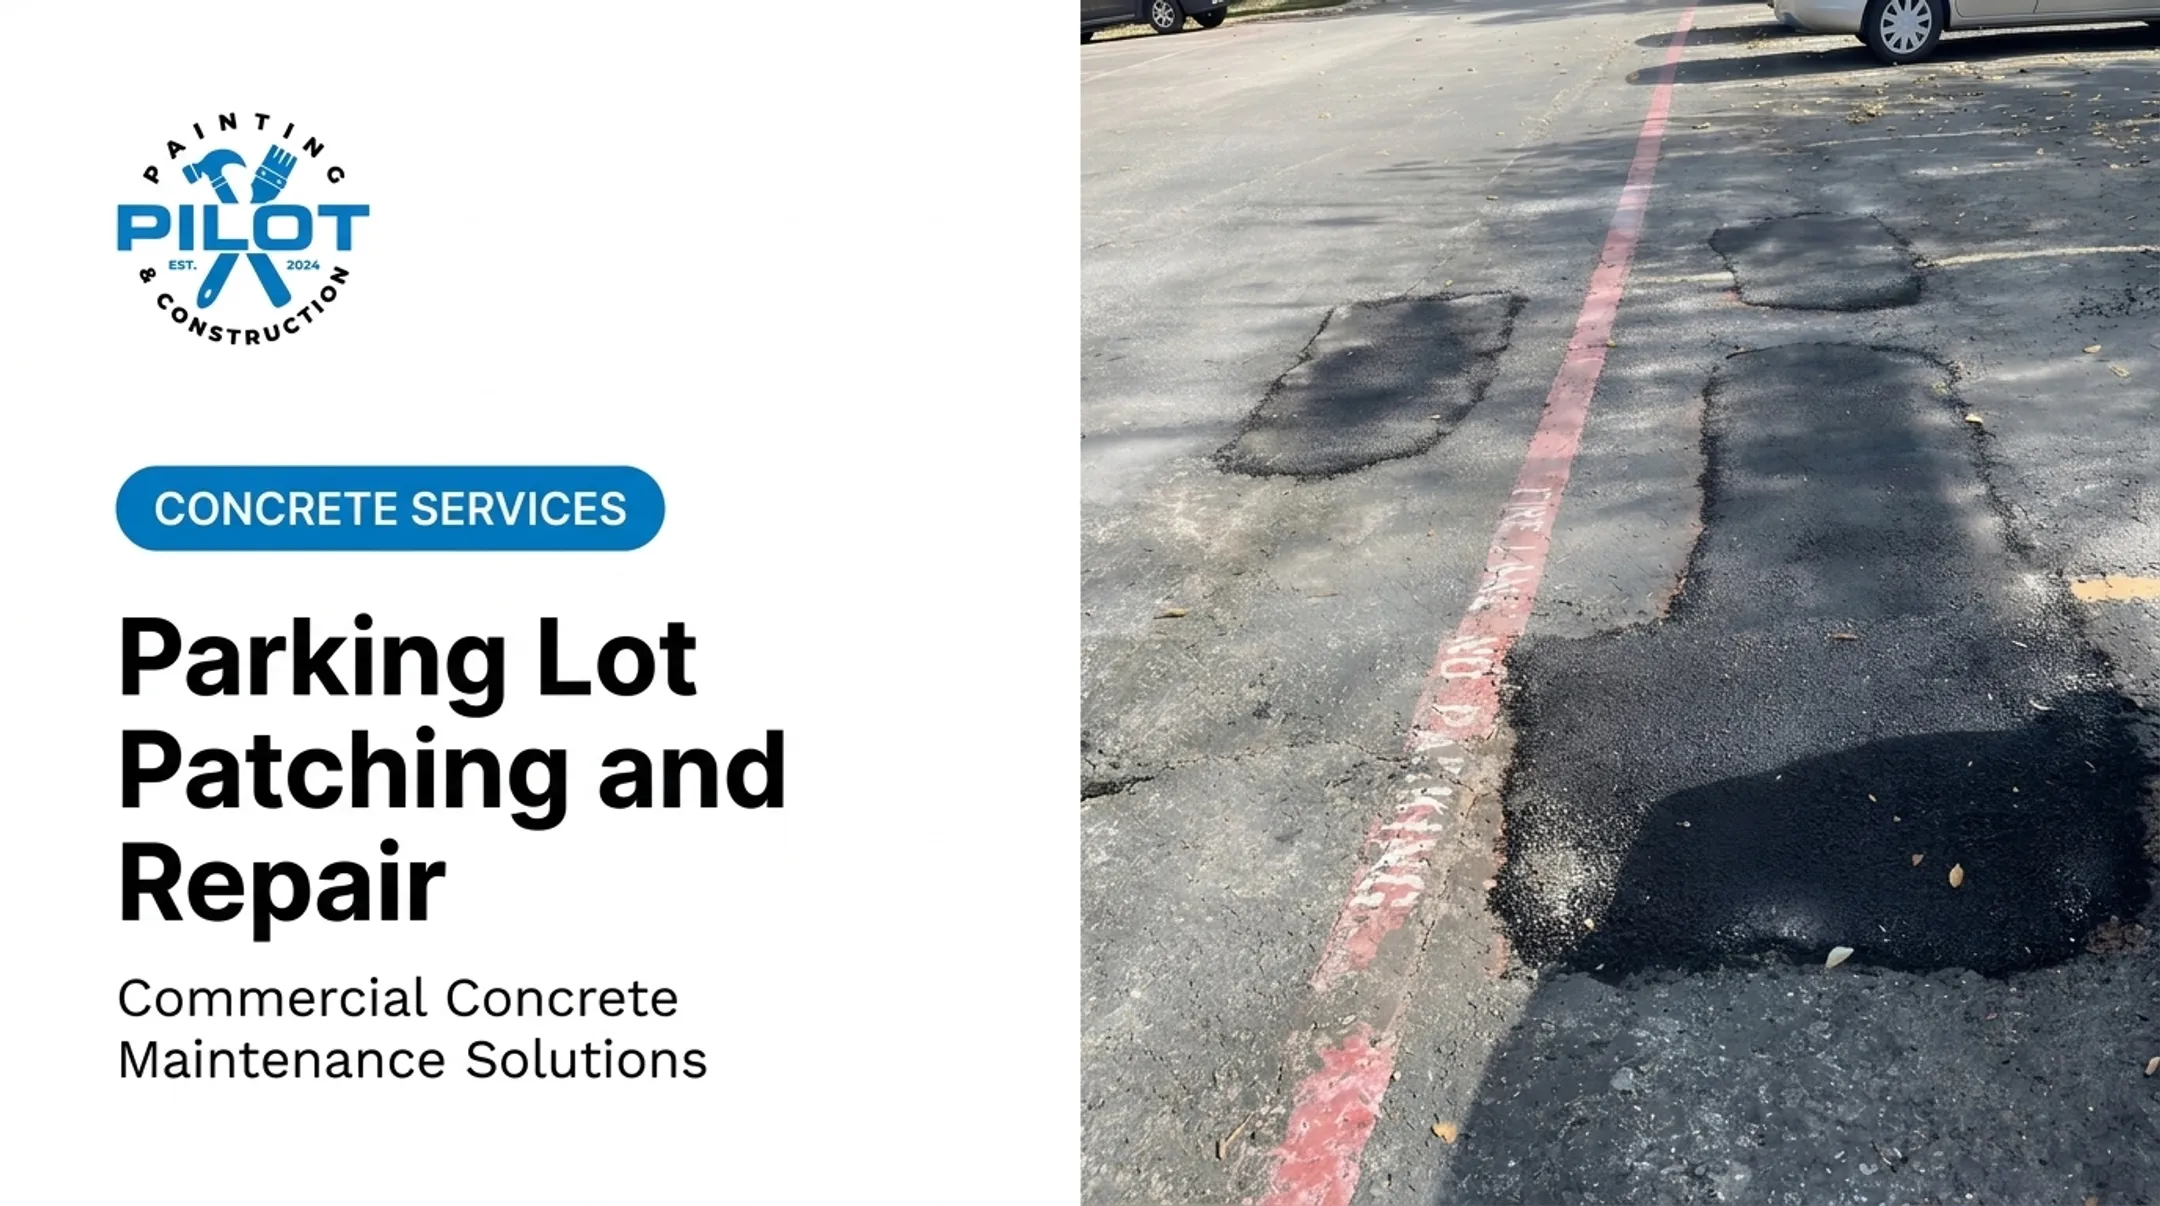
Fix: Grind out the affected area, treat with a waterproofing primer, and reapply the overlay once the substrate is clean and dry.
Shadowing or Ghosting Lines
Problem: Old joints, cracks, or tile patterns show through the new overlay.
Cause: A thin overlay cross-section combined with porosity differences in the substrate below.
Fix: Apply a high-build primer or crack-suppression membrane before the finish coat to block the old pattern from telegraphing through.

Pro Tips for Installing Concrete Overlays Effectively
- Schedule around the weather. Moderate temperatures, roughly 50-90°F, reduce the risk of rapid drying and cracking common in North Texas heat.
- Test decorative finishes first. Run a small sample area before committing to a dye, stain, or new stamp pattern on the full surface.
- Keep records. Log product batch numbers and manufacturer specs for warranty claims and future touch-ups that need to match the original material.
- Know when to call a specialist. Structurally compromised concrete, large commercial floors, and complex decorative patterns need experienced installers. Pilot Painting & Construction handles floor coatings, polished concrete, industrial flooring, and concrete repair for commercial and industrial spaces across Pilot Point and the greater DFW area.
Conclusion
The quality of the installation determines everything: how long the overlay lasts and how well it holds up against North Texas heat, sudden storms, and freeze cycles in winter. Thorough surface prep, disciplined mixing and application, and proper curing and sealing are required—and rushing any of them shortens how long the overlay lasts.
For a small patio, a careful DIYer can manage. For driveways, pool decks, or commercial floors, an experienced North Texas contractor such as Pilot Painting & Construction protects both the investment and the warranty.
Frequently Asked Questions
How much does it cost to do a concrete overlay?
Costs vary based on square footage, overlay type (basic resurfacing vs. decorative/stamped finishes), and labor involved. Get a local quote for an accurate estimate specific to your project.
How long does an overlay on concrete last?
Lifespan depends heavily on traffic, climate exposure, and how often it's resealed. Manufacturers typically back their products with warranties of five to ten years, though performance beyond that depends on maintenance and workmanship.
Are concrete overlays worth it?
When the existing slab is structurally sound, overlays offer a cost-effective alternative to full replacement, improving appearance and durability at a fraction of the cost of new concrete.
Can a concrete overlay be applied over cracked concrete?
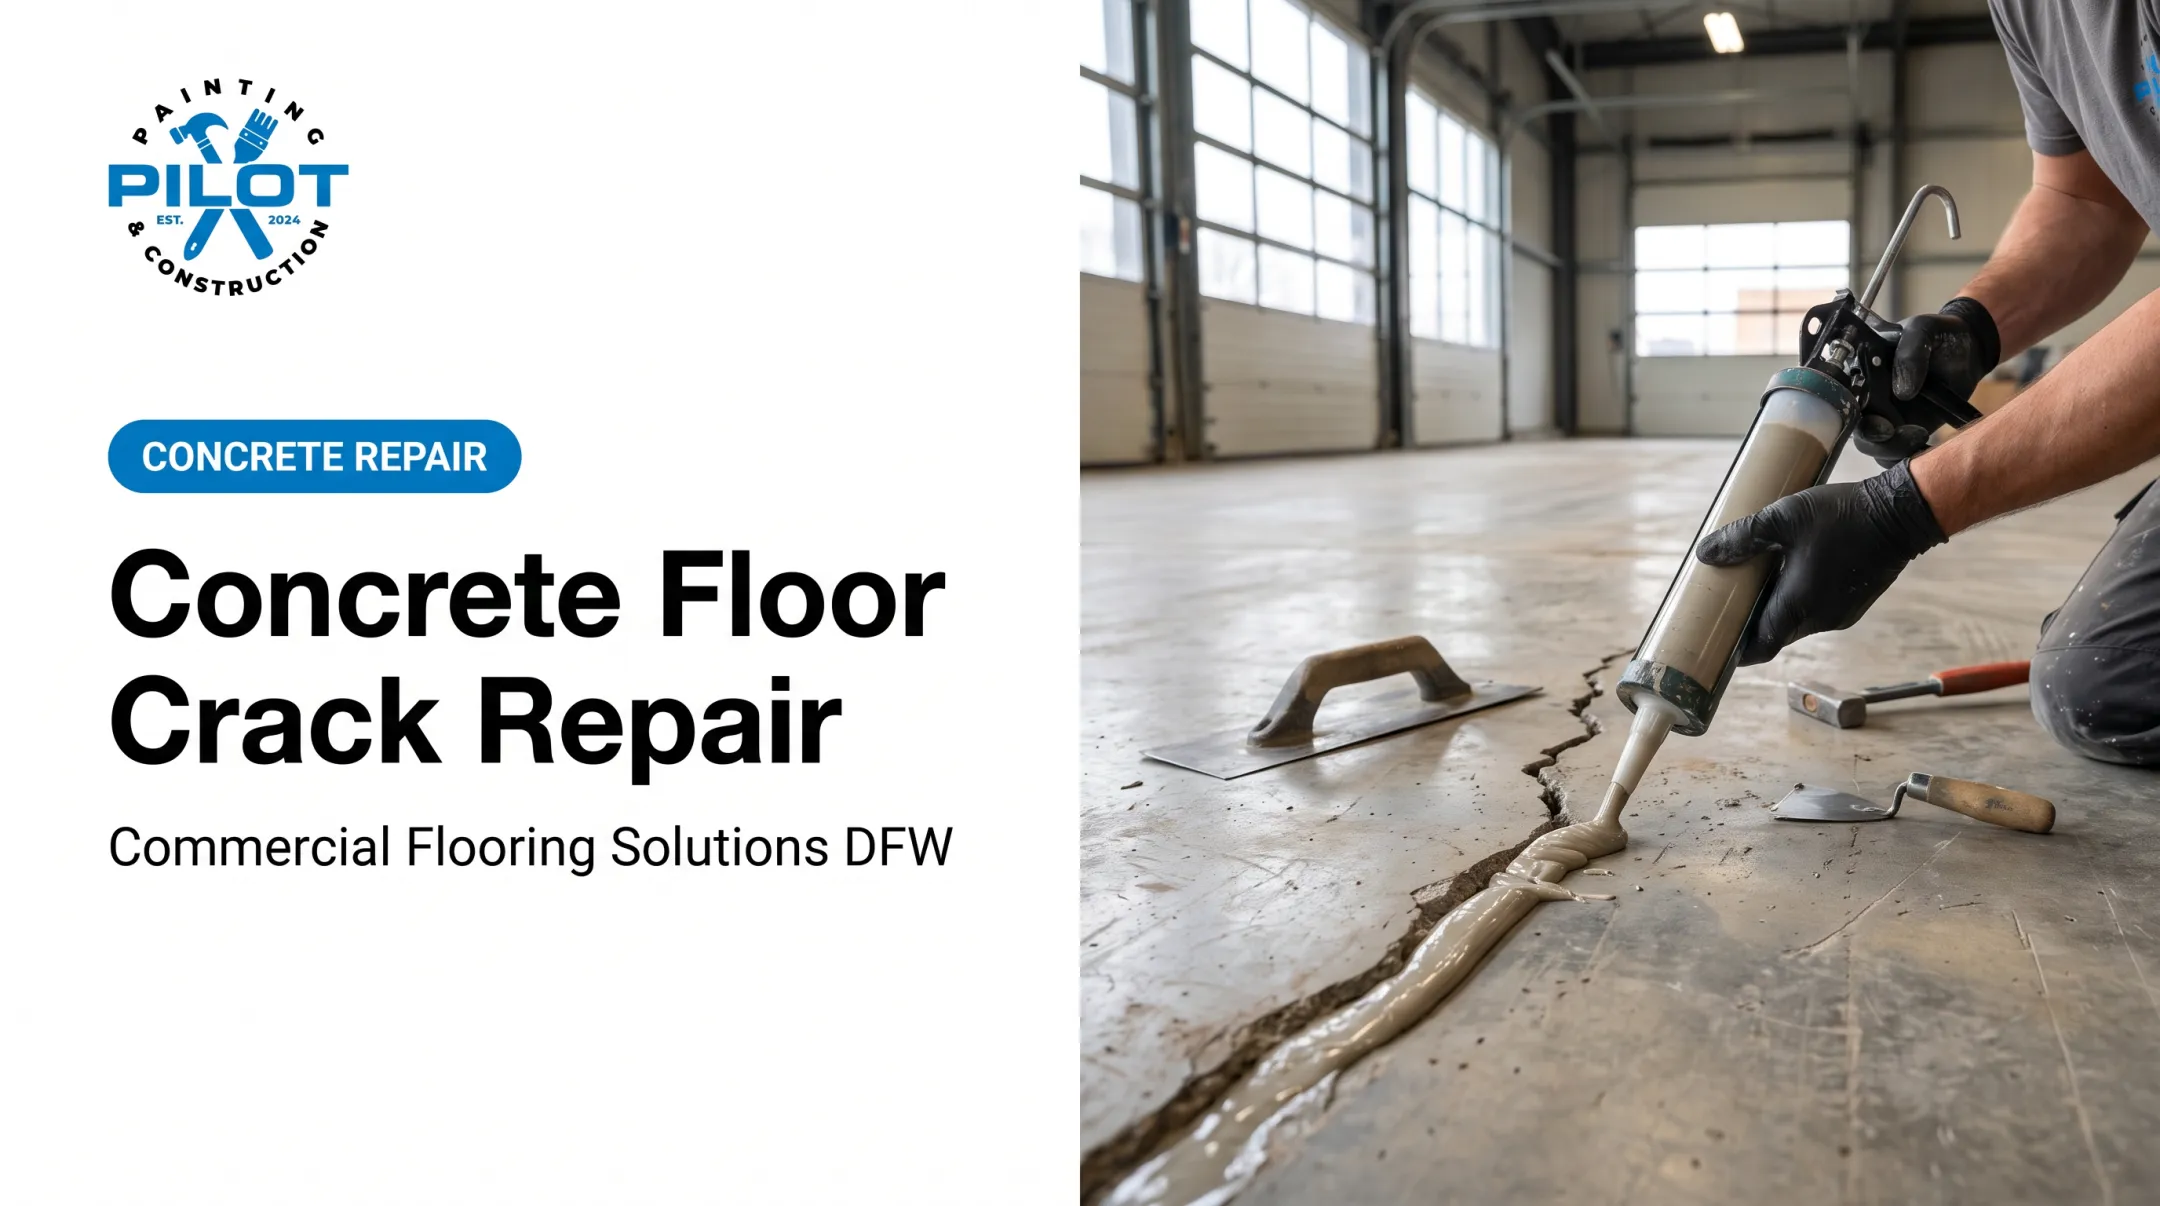
Minor cosmetic cracks can often be bridged with the right primer or membrane. Active or wide structural cracks must be repaired first, or they'll reflect through the new overlay.
How thick should a concrete overlay be applied?
Thickness varies by product, from 1/8" for microtoppings to 3/4" for heavy-traffic resurfacing systems. Always follow the manufacturer's specifications for your chosen product.
Do concrete overlays need to be sealed?
Yes. Sealing protects against stains, moisture intrusion, and wear while preserving decorative finishes. Periodic resealing is recommended to maintain that protection over time.